After creating a folder and adding a workflow to the folder, you can configure the workflow.
You can configure a workflow by connecting different stages in a desired sequence. You can also create different stages and assign roles to these stages.
To create stages and assign roles to the stages, follow these steps:
- Go to Application Menu > Miscellaneous > Workflow Manager.
- Select the folder.
- Hover over the workflow.
- Click
 .
. - Click the Stages tab and click
 on the Generic tab.
 - Enter Name, Status Title, and Description.
- Name - Review
- Status Title - Pending Review
- Description - The stage is part of Mapping_Manager_WF.
- Click Save.
- Select the roles by selecting the appropriate check box.
- Click Save.
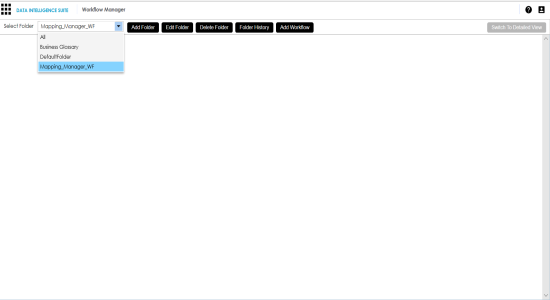
The workflow appears.
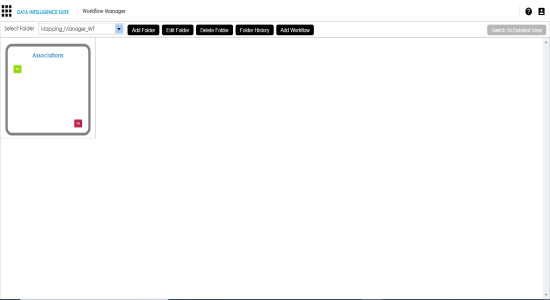
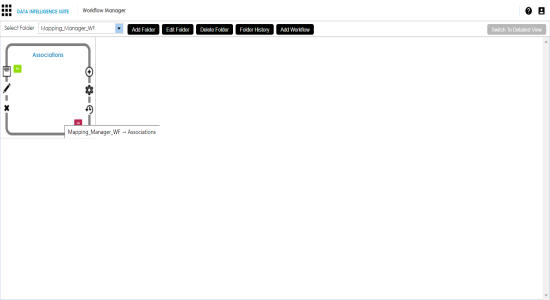
The following page appears.
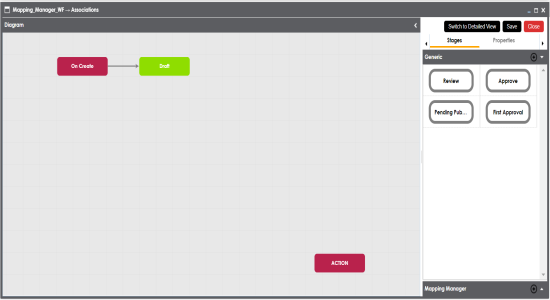
The Add Stage page appears.
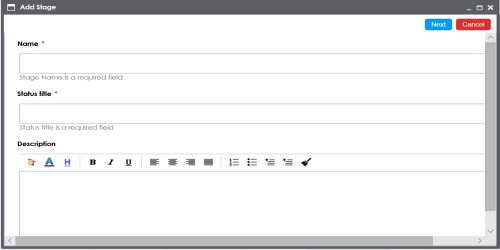
For example:
The following page appears.
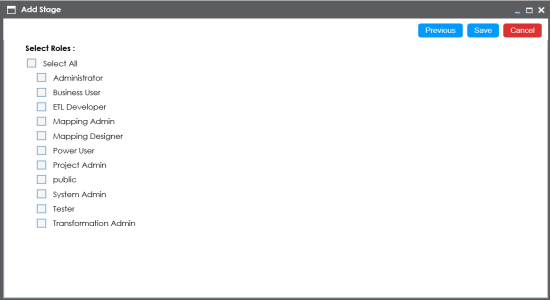
The generic stage is created. You can create as many generic stages you want and assign roles to each stage.
The stages can be updated as per your requirements. You can update stage name, description, and roles assigned to it.
To update stages, follow these steps:
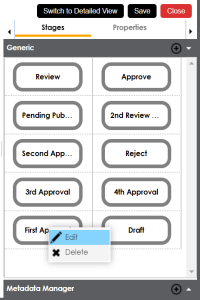
- Under the Generic pane, right-click a stage.
- Click Edit.
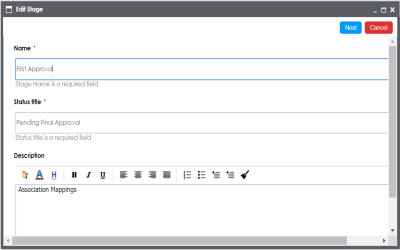
- Click Next.
- Click Save.
You can update the stage name and its description.
You can update the roles assigned to the stage.
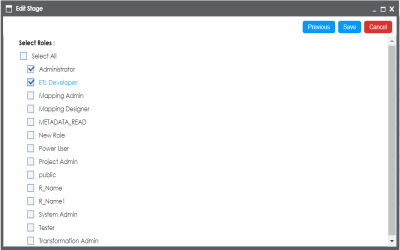
The stage is updated.
To add generic stages to workflows, follow these steps:
- Drag and drop the stages from the Generic tab to the Diagram pane.
- Drag the cursor from one stage to the next stage to connect the two stages.
- Select Action stage block, and click Properties.
- Double-click the cell under the Value column against Action and select Publish.
- Select appropriate roles by selecting the appropriate check boxes.
- Click Save.
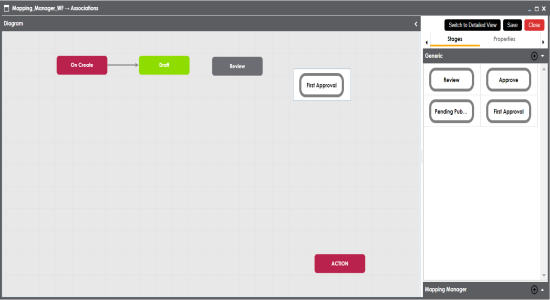
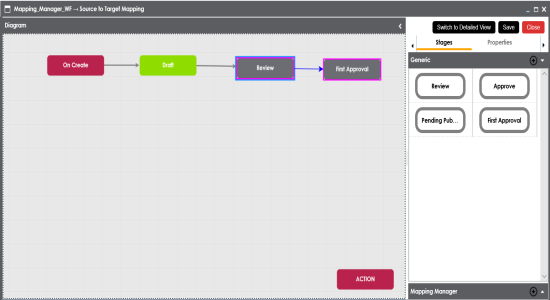
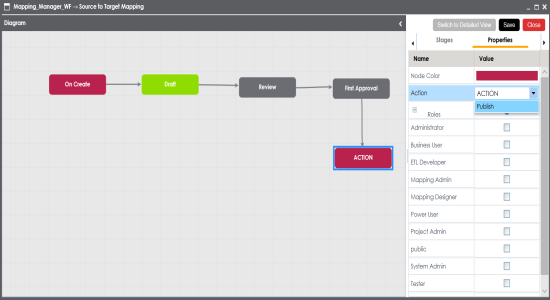
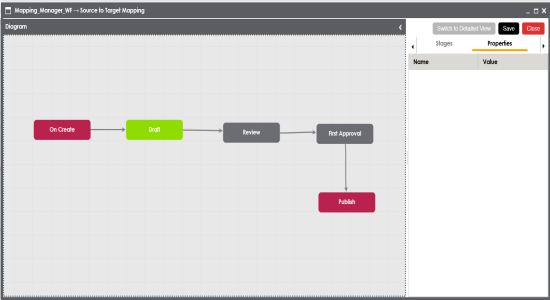
The workflow is configured and saved.
To delete stages from a workflow diagram, follow these steps:
- Under the Diagram pane, right-click a stage.
- Click Delete.
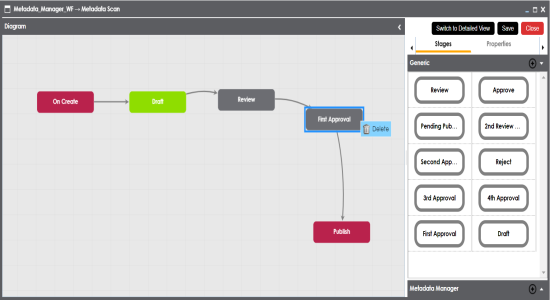
The stage is deleted from the workflow diagram.
|
Copyright © 2020 erwin, Inc.
All rights reserved.
|
|